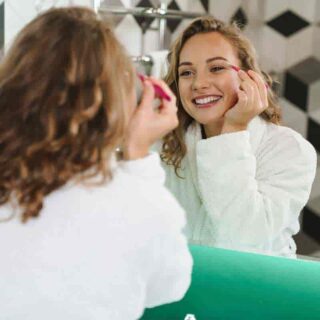
Perhaps it is the night before dinner to meet your significant others’ parents for the first time. It’s only natural to want to look a bit more presentable for a good first impression. However, doing makeup is a form of artistry and takes a good amount of creative capability to accomplish. So, you may be wondering how to do some easier eyeshadow looks or if there are any tutorials.
Creating beginner eyeshadow looks can be accomplished by searching through videos and websites with makeup tutorials in a step-by-step process. There is also a diagram of the different parts of the eye where the eyeshadow can be placed as a way to guide you.
Keep reading to learn more about how you can do an easy eyeshadow look, where you can apply it, and also four, condensed, simple steps on how to do a simple eyeshadow look. All of the information you will read in this article will help you to look your best no matter the occasion, whether it be a fancy dinner night or just a day you want to feel good in your skin.
How Do You Do An Easy Eyeshadow Look?
On average, it takes about a couple of minutes to do a simple eyeshadow look on both eyes. But, to complete an eyeshadow look, you will need to know the proper items to use, such as eyeshadow palettes and brushes, and where to put the different eyeshadow colors. Read on to learn about the four different tools you will need in order to complete your eyeshadow look.
Flat Eyeshadow Shader Brush
Used to better pigment the shade of the eyeshadow that you choose to apply to your eyes, there are two different types of flat eyeshadow shader brushes that you can use.
The square-shaped brush, also known as the flat eyeshadow shader brush, is used to diffuse the eyeshadows while the domed-shaped brush is used to accurately apply the eyeshadow applicator as well as adding highlights in the corner of your eye.
An example of a great flat eyeshadow shader brush in a seven-piece set is the Eye Makeup Brushes Eyeshadow Brush Set. This kit is perfect for beginners because you can get a good variety of brushes that are intended to be used in different ways.
Eyeshadow Blending Brush
This can be used to blend the eyeshadows together (mixing light with dark eyeshadows before blending it), fade out some harsh lines from the eyeshadow that you applied and the darker pigments. A suggestion is to make sure that the blending brush is made of natural bristles as this is a sure indicator of an easygoing blend of your eyeshadows.
An example of a blending brush is Under Eye Concealer Brush.
Crease Brush
This brush is normally used for the crease, the folded area above your eyelid, and is used to typically enhance or buff the eyeshadows within those creases. With the crease brush, after applying the eyeshadow, you will blend using the brush in an upward motion. An example of a crease brush, at an affordable price is the wet n wild Crease Brush which comes at $1.19.
An Eyeshadow Palette And Highlighter
Naturally, to complete an eyeshadow look you will need to have an eyeshadow palette. The good thing about an eyeshadow palette is that it can come in a variety of colors that you can either apply on its own or blend together into a beautiful color. You can go for a more natural, and neutral, nude color palette to extremely bright colors that are highly pigmented.
An example of a nude-colored eyeshadow palette is the Maybelline The Blushed Eyeshadow Makeup Palette and an example of a colorful, high pigmented palette is the EYESEEK Matte Eyeshadow Palette 45 Shades.
There are also other options for eyeshadow palettes if you are vegan, as well. An example of a vegan eyeshadow palette is Honest Beauty Eyeshadow Palette. And an example of a highlighter palette is Highlighter Palette, Highlighter Makeup Palette.
Where Can You Apply Eyeshadow?
When applying eyeshadow, there are some specific areas that you can typically apply eyeshadow to. Keep reading to learn about the four different parts of the eye where you can apply eyeshadow.
Inner Tearduct/Inner Corner
The inner tear duct/inner corner is located between the bridge of your nose and the inner portion of your eyelid. A way to utilize using your eyeshadow on this portion of your eye, is to use metallic-like eyeshadow, or if you want something more toned down then you can use the same eyeshadow that you would use on your brow bone.
Inner/Middle/Outer Lid
The inner, middle, and outer lid is located near the bridge of your nose. Eyeshadow can be applied as one, single, shade, or broken up into a few parts (typically two or three). A suggestion is to apply a light shade of eyeshadow on the inner lid, a dark shade to the outer, and a medium-colored eyeshadow on the middle lid.
Crease and Above Crease
The crease is a bit deeper (think of when you open your eyes and your lids fold back). There is the crease, a deep crease, and then the above crease. The deep crease is a little deeper than the crease and can typically have a darker eyeshadow applied to the deep crease and, for the crease, a lighter shade.
The above crease is more towards the brow bone. A blending brush is normally used towards the above crease and is made sure that the transition from the light to dark eyeshadows are smoothly blended together.
Brow Bone
The brow bone is right underneath your eyebrows and can typically be used to, when applying eyeshadow, be highlighted with an eyeshadow that either matches your skin tone, or an eyeshadow that stands out a bit more.
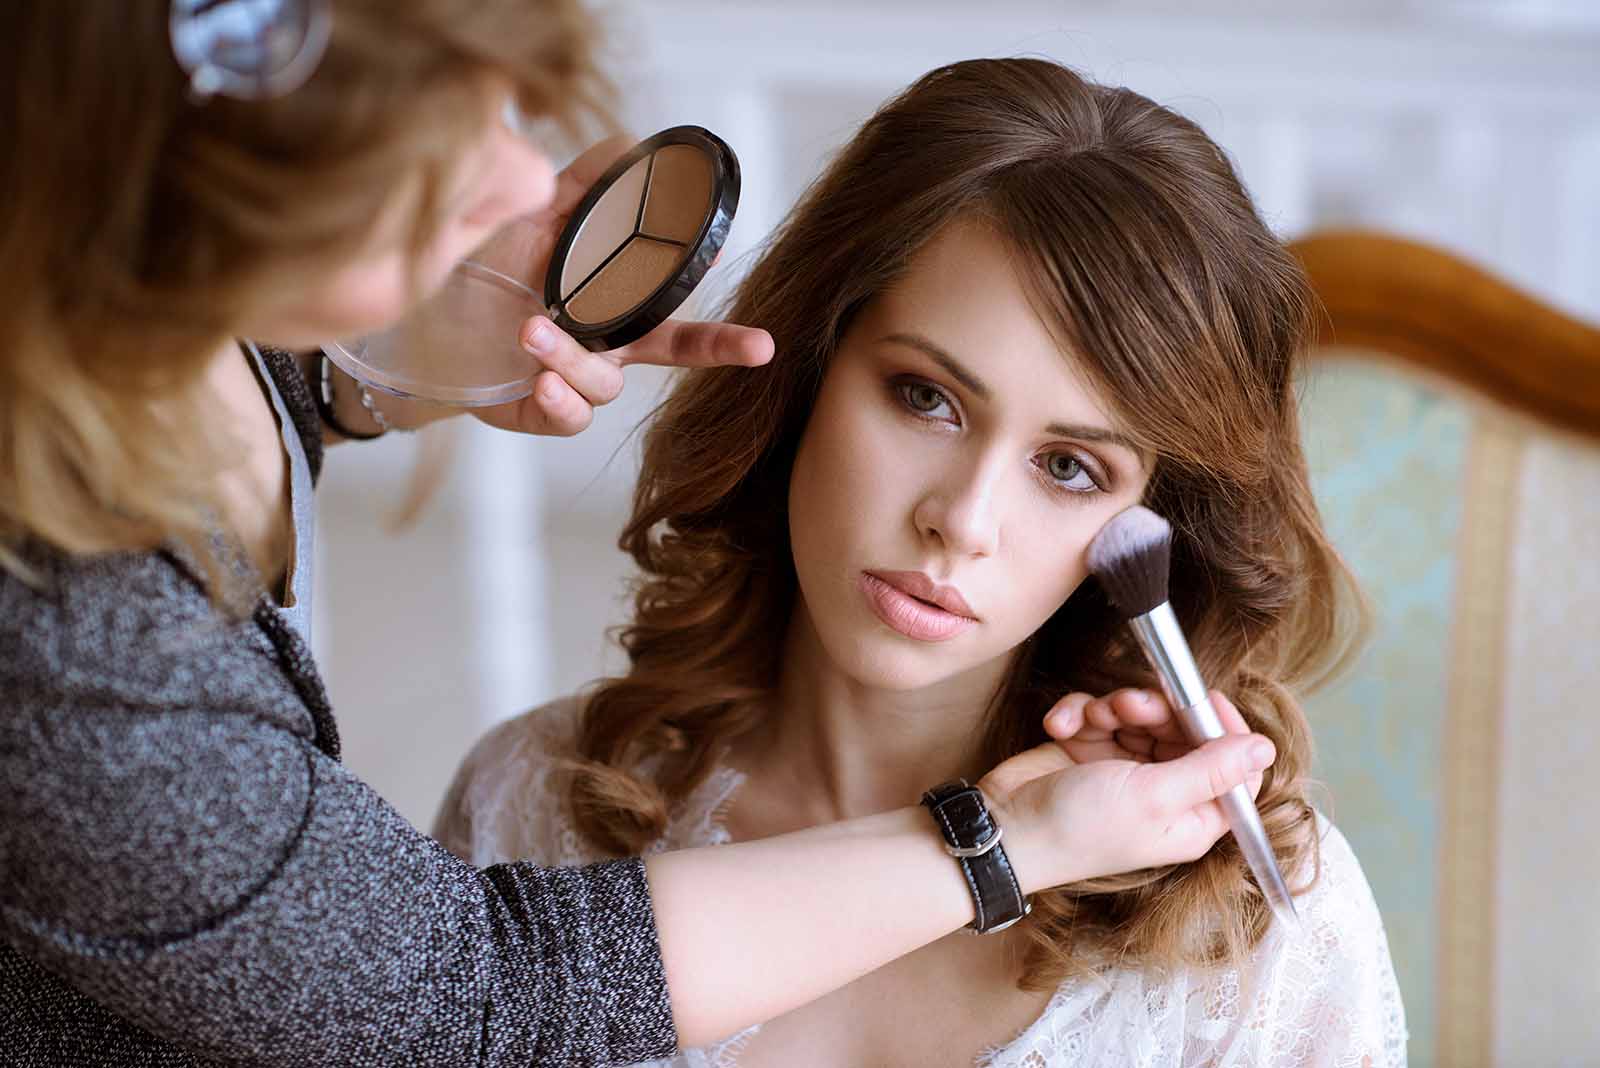
How Do You Do A Simple Eyeshadow For Beginners?
To apply eyeshadow, as a beginner there are quick and easy steps. Keep reading to learn about four, simple, steps on how to apply eyeshadow for beginners.
Cleanse Your Face
Before starting anything, clean your face of any dirt and/or oils on your face. After cleaning your face, pat your face dry, making sure that it is clear of any excess water. Cleaning your face assures that the eyeshadow, or any other makeup, stays on your face for a longer period of time.
A suggestion for products to clean your face with, before applying makeup, is a cleanser and depending on your skin type (i.e. dry, oily, etc.) is what cleanser you can consider purchasing. For example, a skincare that is good for all skin types is FaceTory Skincare Bundle.
Prime Your Eyes, Then Conceal
After washing your face, the next step is to prime your eyes using an eyeshadow primer. Aside from keeping your face clean, using primer serves the purpose of making sure that your eyeshadow, and other makeup, properly stays on your eyes, too. When applying primer, use the tip of a clean finger and dab on your eyelids.
An example of a vegan makeup primer is NYX PROFESSIONAL MAKEUP Studio Perfect Primer.
Create A Neutral Base, Crease, Then Add Some Colors
Create a base. Pick out a neutral eyeshadow shade for your eyelids up towards the crease. The neutral color you choose will be the base for the rest of your eyes. A typical, neutral-eyeshadow color that is normally used is the second lightest eyeshadow color.
To crease, you use the second darkest eyeshadow color to contour. Create a thin line, starting with the inner side of your eye and as you move over to the outer side, your crease will become thicker. Avoid harsh, and uneven, lines while creasing from side to side in a windshield wiper motion.
When adding color, apply the darkest eyeshadow color on the outer corners of your eyes and you can make it as defined as you would like. After adding colors on the corners, use the same color on your lower lashes, as well, then blend it out with a brush for effect.
Highlight
Using your lightest color from your highlighter palette, highlight above the crease to your brow bone and blend. When blending, everything should go perfectly well together and not look harsh. After blending your highlighter, with a clean pinkie finger, carefully apply a little bit of the highlighter to the inside corner of your eye. Applying this makes you look more awake.
An example of a vegan highlighter palette is Highlighter Palette Highlighter Makeup Iluminador.
Easy Eyeshadow Video Tutorial
A visual example of someone guiding you step-by-step on how to apply a beginner-friendly eyeshadow is AlexandrasGirlyTalk’s video titled, “How to Apply Eyeshadow PERFECTLY (beginner friendly hacks)”. In this video, Alexandra gives a quick, three-minute tutorial on how to easily apply eyeshadow to your eyes.
Before, and after, the video she mentions three tips that can apply to having a nice, and clean, eyeshadow look. In the beginning of the video, to avoid having patchy eyeshadows, hold your brush from the tip of the handle to have a softer, and more easygoing, blend.
After, she mentions that the first thing that she does before applying eyeshadow is that she threads her eyebrows to avoid “texture on texture” and to make the eyeshadow look smoother. After applying the eyeshadow, she also mentions that you can add false lashes and/or mascara to finish off the look.
An example of false lashes is JIMIRE 16 Pairs False Eyelashes. And an example of vegan mascara is Lash Princess False Lash Waterproof Mascara.
Closing
You have now learned how to do an easy eyeshadow look and you’ve also learned about the different areas of your eyes where you can apply eyeshadow. And you, now, also have a video tutorial that you can visually see to learn how to apply an eyeshadow that is beginner friendly.
We use cookies on our website to give you the most relevant experience by remembering your preferences and repeat visits. By clicking “Accept”, you consent to the use of ALL the cookies.
This website uses cookies to improve your experience while you navigate through the website. Out of these, the cookies that are categorized as necessary are stored on your browser as they are essential for the working of basic functionalities of the website. We also use third-party cookies that help us analyze and understand how you use this website. These cookies will be stored in your browser only with your consent. You also have the option to opt-out of these cookies. But opting out of some of these cookies may affect your browsing experience.
Necessary cookies are absolutely essential for the website to function properly. These cookies ensure basic functionalities and security features of the website, anonymously.
Cookie
Duration
Description
cookielawinfo-checkbox-analytics
11 months
This cookie is set by GDPR Cookie Consent plugin. The cookie is used to store the user consent for the cookies in the category "Analytics".
cookielawinfo-checkbox-functional
11 months
The cookie is set by GDPR cookie consent to record the user consent for the cookies in the category "Functional".
cookielawinfo-checkbox-necessary
11 months
This cookie is set by GDPR Cookie Consent plugin. The cookies is used to store the user consent for the cookies in the category "Necessary".
cookielawinfo-checkbox-others
11 months
This cookie is set by GDPR Cookie Consent plugin. The cookie is used to store the user consent for the cookies in the category "Other.
cookielawinfo-checkbox-performance
11 months
This cookie is set by GDPR Cookie Consent plugin. The cookie is used to store the user consent for the cookies in the category "Performance".
viewed_cookie_policy
11 months
The cookie is set by the GDPR Cookie Consent plugin and is used to store whether or not user has consented to the use of cookies. It does not store any personal data.
Functional cookies help to perform certain functionalities like sharing the content of the website on social media platforms, collect feedbacks, and other third-party features.
Performance cookies are used to understand and analyze the key performance indexes of the website which helps in delivering a better user experience for the visitors.
Analytical cookies are used to understand how visitors interact with the website. These cookies help provide information on metrics the number of visitors, bounce rate, traffic source, etc.
Advertisement cookies are used to provide visitors with relevant ads and marketing campaigns. These cookies track visitors across websites and collect information to provide customized ads.