7 Tips if you want to Microblade from Home
Microblading at home is not as easy as learning to apply makeup, you need to be aware of the risks and be willing to commit. It is sort of a “try at your own risk” type of thing. There are health risks involved since the procedure involves breaking the skin. You will be at risk for infection or allergic reaction to the pigment, so it is important to be cautious during and after the procedure.
You also run the risk of messing up and not liking what you have done or messing up a particular area of your brow that you just can’t ignore. While yes, doing it yourself at home is cheaper than going to a professional, you need to be completely sure and comfortable about the decision. You also need to be confident in yourself. If you have any doubts about your abilities, perhaps this is not for you.
There’s also microblading online courses, but if you’re feeling adventurous and want to try this yourself, here are 7 tips to help you out with your microblading from home adventure.
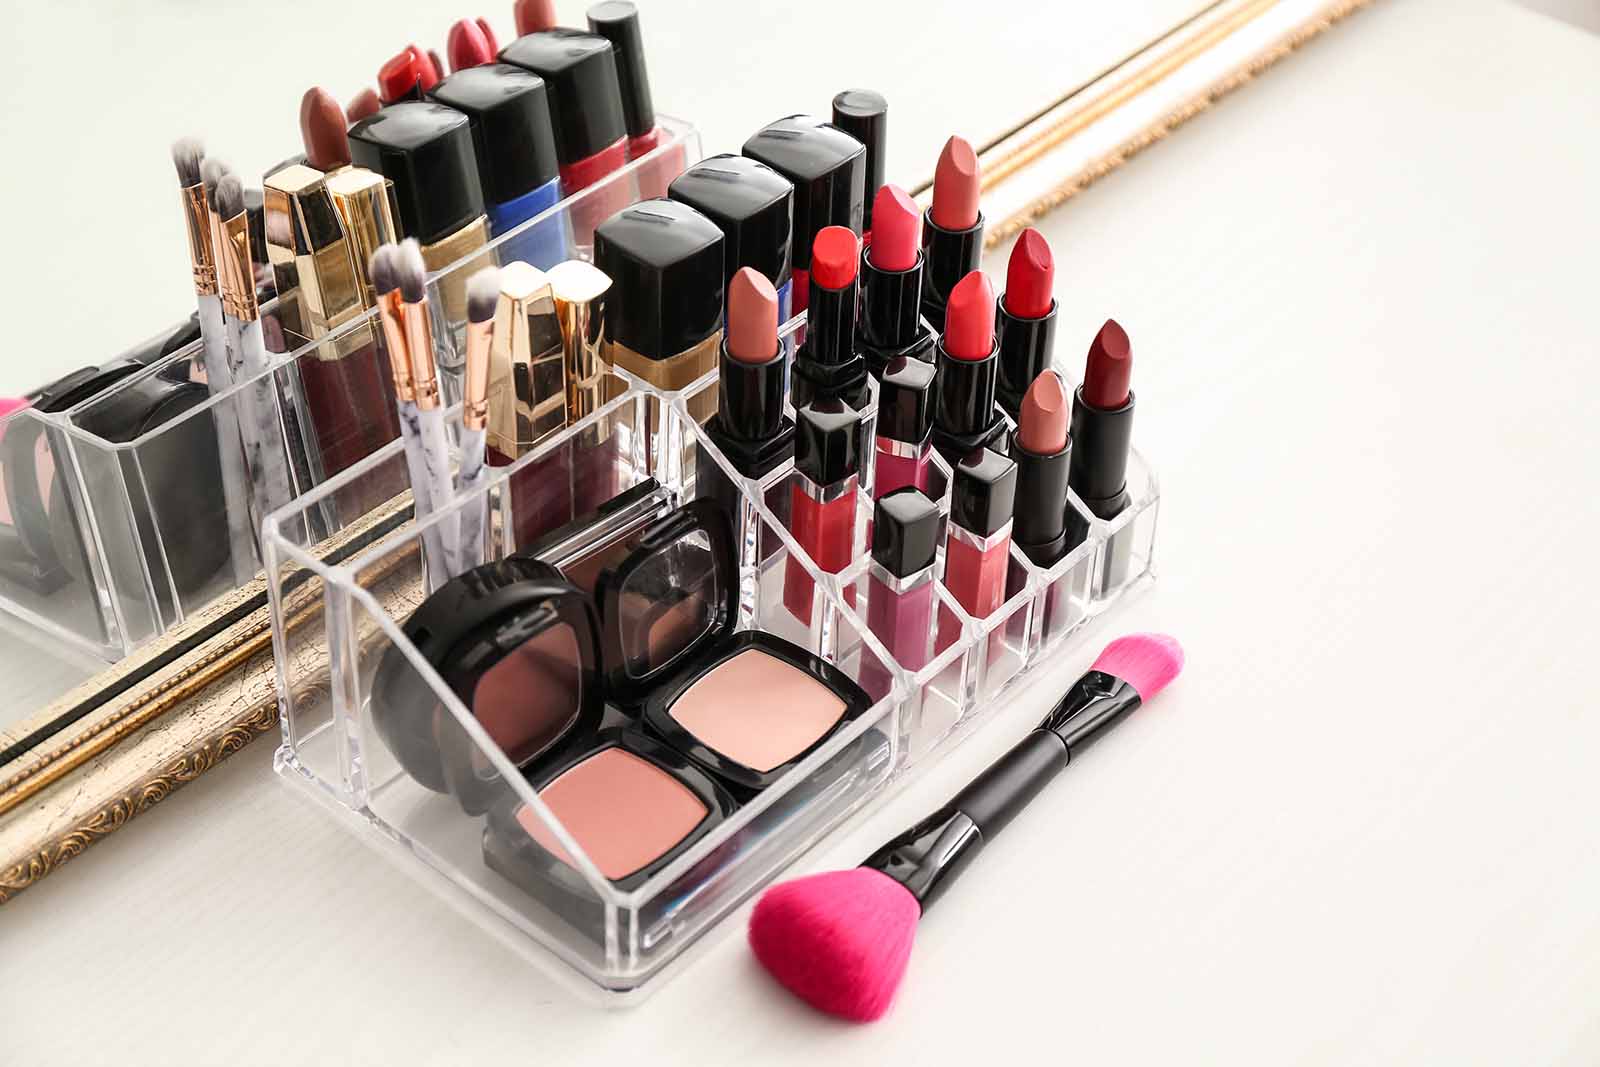
While you can order microblading kits online or you can also purchase the items individually. It’s really up to you and your preferences.
- Gloves
- Disinfectant Wipes
- Alcohol Wipes
- Mirror
- Eyebrow Pencil
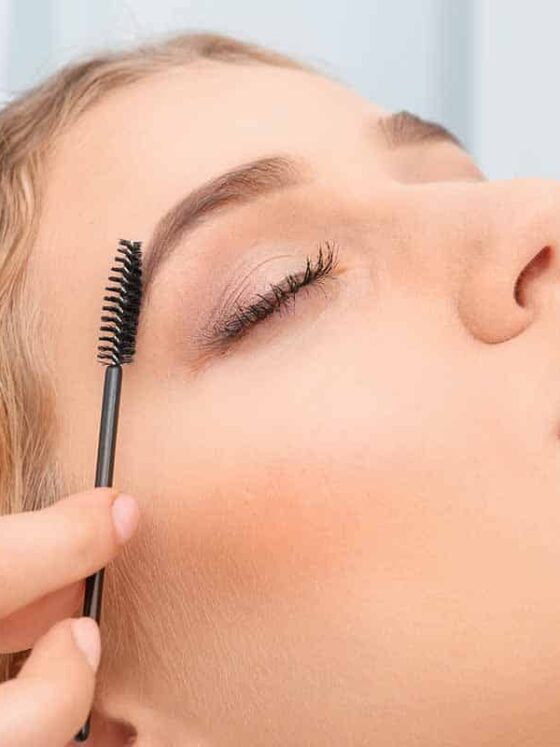
- Eyebrow Brush
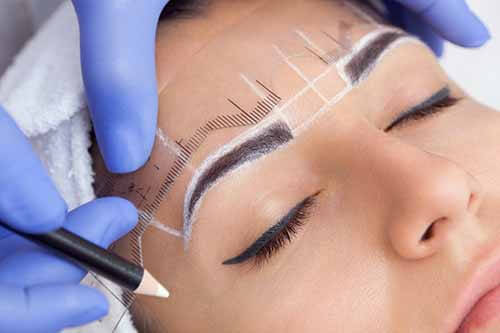
- Eyebrow stencils
- Numbing Cream It is a good idea to apply this about an hour before you start the procedure to ensure it will numb the area enough to be comfortable. Also, be careful not to get it on your hands else they will be numb, and it will be difficult for you to perform the procedure. Hence, the gloves.
- Microblade Holder
- Microblading Blades
- Pigment (great ones found here!)
- Cap Ring
- Paper towels
- Music (For fun if you want to be entertained during the process)
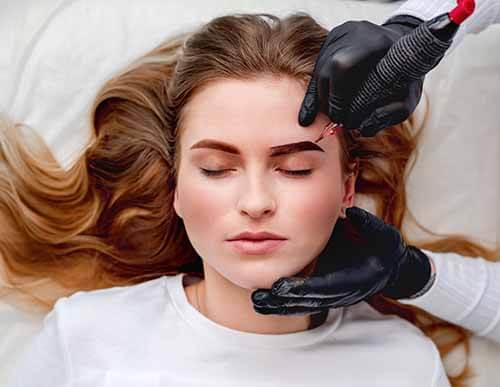
It just got real; you’re going to start the procedure.
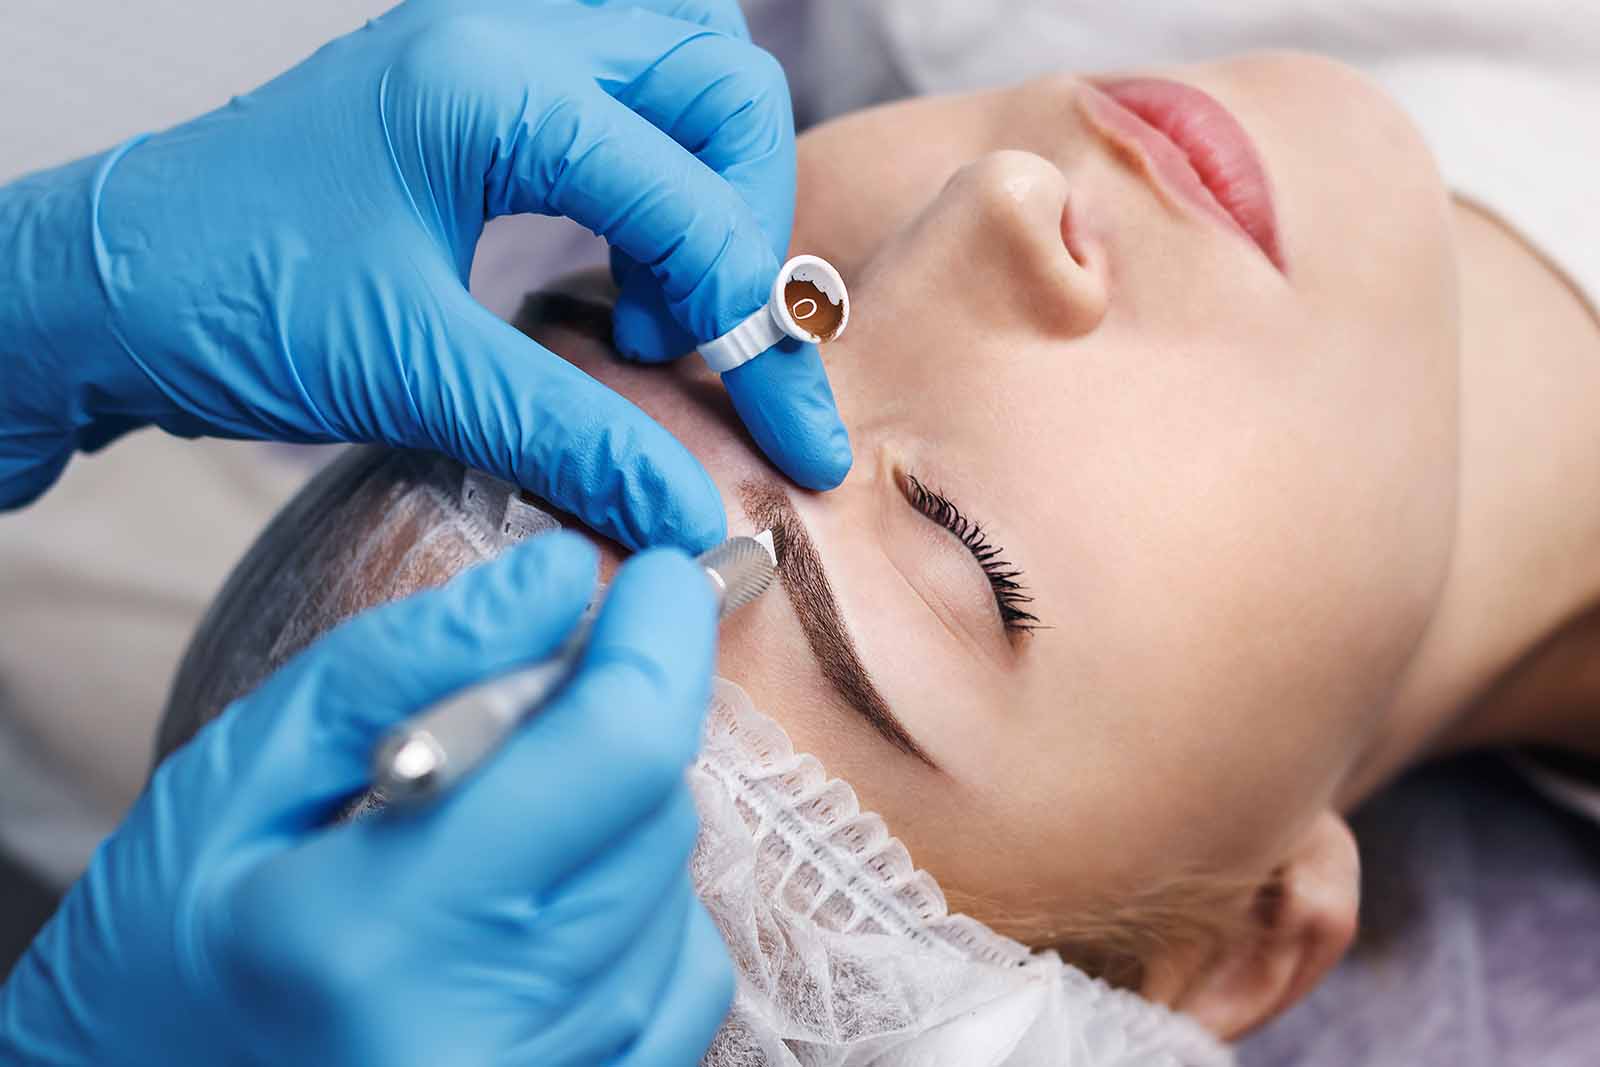
Dip your blade into the pigment and start at the end of the eyebrow and work your way into the middle. When you get to the part by your nose, try to be extra careful because that’s a common area for mistakes, since that is usually the thinnest part of the brow.
Make sure you follow your natural eyebrow direction. You don’t want to go one way and then another way because it will show after the whole thing is said and done and it won’t look very pretty.
Keep your strokes consistent and press hard enough. If you used numbing cream, it might be hard to tell how deep you are pressing, but just try to do the same thing over and over. If you start bleeding significantly, just slow down and don’t press as hard.
Keep shading and wipe your brows with a paper towel to wipe away the excess pigment so you can see what you are doing, just like what a tattoo artist does by wiping away ink as they go along.
Clean the pigment residue when you are done and apply touch-ups if you see any areas that need extra shading. You can use this brow as a guide for the other.
Repeat on the other eyebrow. The other eyebrow can be tricky for some. It can feel a little awkward while working on it. Just try your best and be cautious not to make that side any different than your first eyebrow.
When you are completely done, hopefully, you love what you have done. If you need to touch up, do so.